When Ridge Mortar Cracks: A Practical Guide to Repair and Prevention
If you live in Cape Town and your home is more than ten years old, chances are good that at some point you will need to deal with a cracked ridge mortar repair. The ridge is the highest point of your roof, where the two sloping sides meet. Mortar here holds the ridge tiles in place and keeps the joint watertight. When it cracks, water finds its way in, and that is where the trouble starts.
I have spent years working on roofs across the Cape Peninsula, from the Atlantic Seaboard to the winelands. And I can tell you that ridge mortar problems are one of the most common causes of leaks that people mistake for something more complex. They call me complaining about a mysterious drip in the ceiling, and after a proper trace, I find the source is a simple cracked ridge joint that has been letting water in for months.
Why Ridge Mortar Cracks in the First Place
Mortar is a rigid material. It does not stretch or flex. Your roof, on the other hand, moves. It expands in the summer heat and contracts during cold winter nights. Timber trusses settle. Wind shakes the structure. Over time, these small movements create hairline cracks in the mortar. Once a crack forms, water seeps in, freezes during a cold snap, and widens the crack further. That is the cycle.
In Cape Town, we get a particular combination of sun and rain that accelerates this process. The intense UV on the ridge during summer dries the mortar out. Then the winter rains hit, and the saturated mortar cannot handle the thermal shock. I have seen ridges where the mortar has turned almost to sand. A good cracked ridge mortar repair depends on understanding this local context.
What a Proper Cracked Ridge Mortar Repair Involves
Let me walk you through the steps, because there is a right way and a lot of wrong ways.
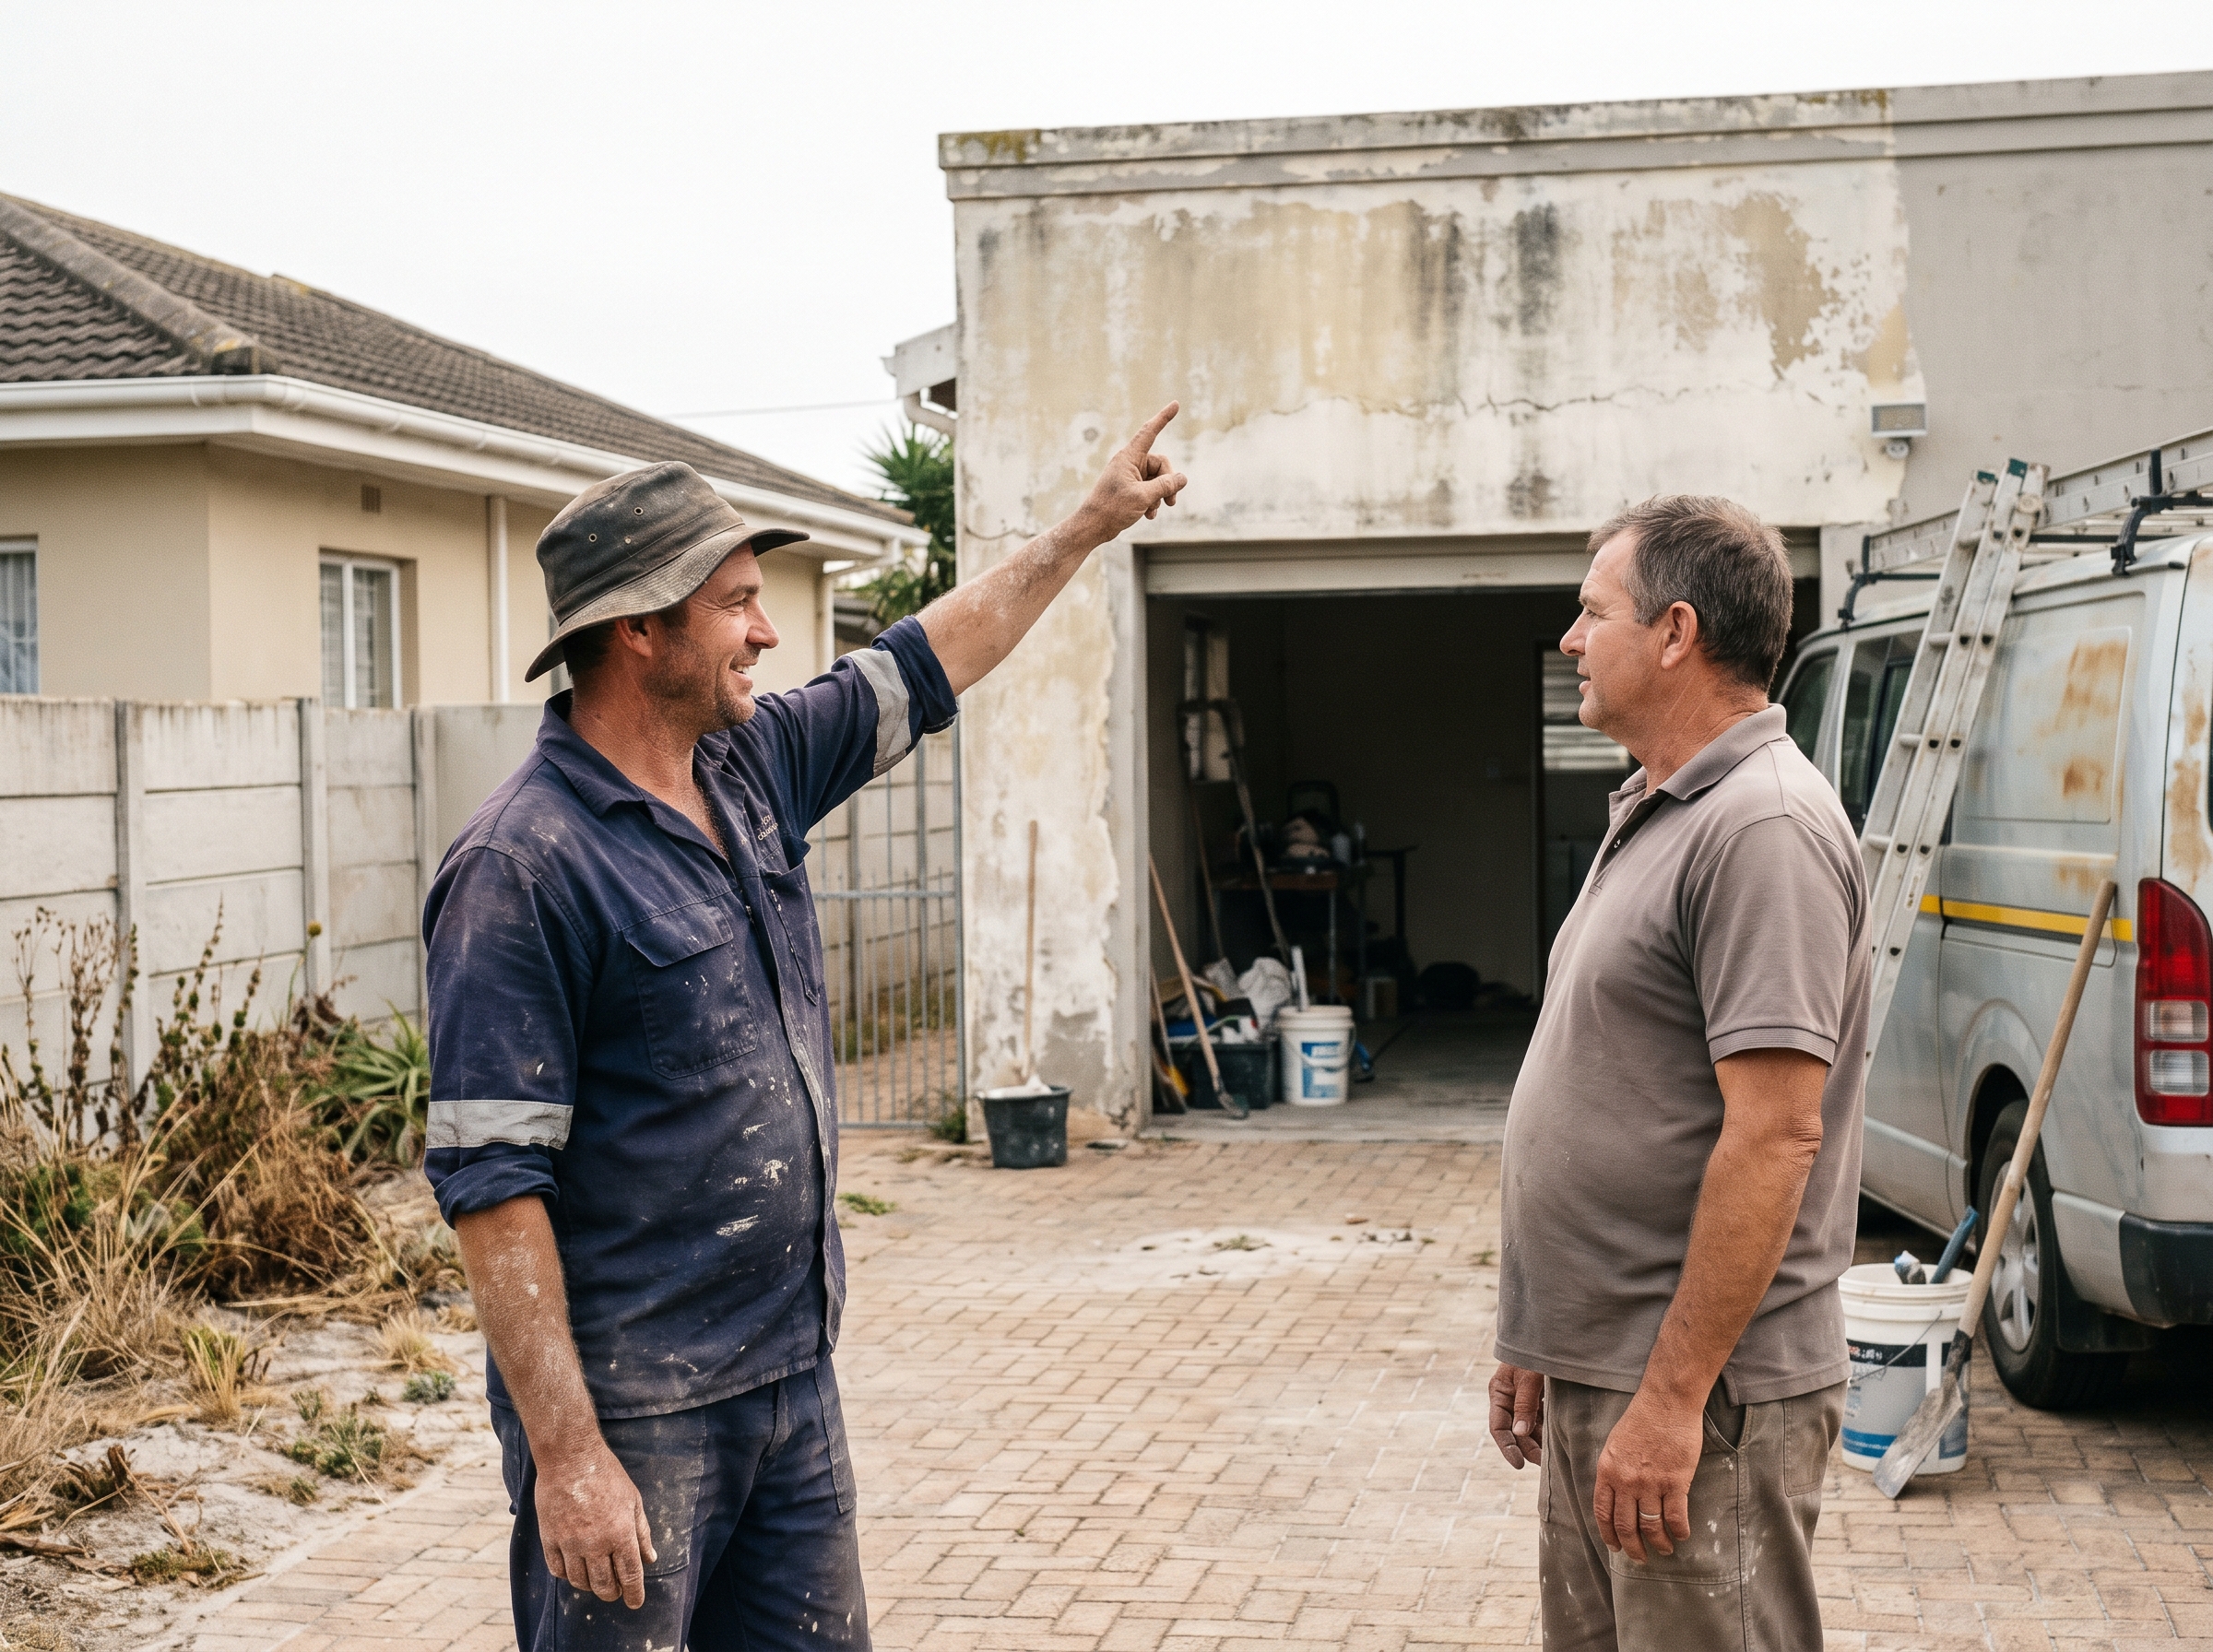
The first thing to understand is that you cannot just trowel new mortar over a cracked joint. That is a temporary fix at best. The new layer will bond only to the surface, and the crack below will still move. Water will find its way through eventually.
Step 1: Remove the Old Mortar
A proper repair requires removing the old, loose mortar from the ridge joint. This means taking out the ridge tiles carefully, cleaning the bedding, and exposing the full depth of the joint. I use a hammer and a cold chisel for this, working slowly to avoid damaging the tiles. Some contractors use a grinder, but that creates dust and risks cutting into the tile surface. Hand tools give you control.
Once the old mortar is out, you need to clean the gap. A wire brush works well. Then flush the joint with water to remove any dust. The mortar needs a clean, damp surface to bond to.
Step 2: Use the Right Mix
Not all mortar is the same. For ridge repairs, you want a mix that is strong but not too hard. A mix that is too rigid will crack again under movement. I use a 3:1 sand-to-cement ratio with a plasticiser. The plasticiser makes the mortar more workable and helps it bond. Some people add a bit of lime, which gives the mortar a slight flexibility. That can help in our climate.
Do not use pure cement. It shrinks as it cures and will crack within weeks. And do not use ordinary tile grout. That is for interior walls, not for exposed roof work.
Step 3: Apply the Mortar Properly
You pack the mortar into the joint firmly, making sure it fills every gap. Then you shape the joint so that water runs off. A rounded or angled profile works best. Flat joints hold water and lead to early failure.
After the mortar is in place, you need to keep it damp for a few days. Cover the ridge with a wet cloth or spray it lightly each morning. This slows the curing process and makes the mortar stronger. If you let it dry out too fast, it will crack.
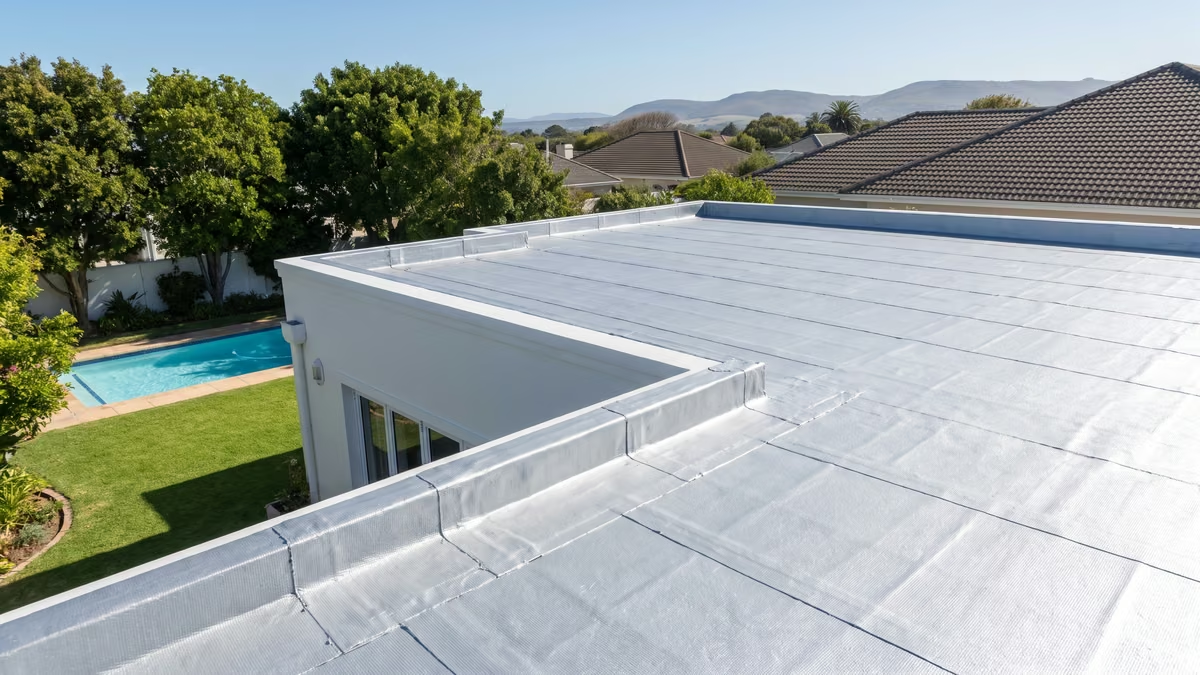
That is the core of a durable cracked ridge mortar repair. It is not complicated, but it demands patience and attention to detail.
When to Call a Professional
I have fixed ridges where a homeowner tried to patch the crack with silicone sealant. That never works. Silicone needs a clean, dry surface to bond, and the movement of the roof pulls it apart. I have also seen ridges patched with bitumen paint. That just masks the problem until the paint peels off.
If you are comfortable on a ladder and have some experience with mortar work, you can attempt a repair yourself on a low, single-storey roof. But if the roof is steep, the ridge is high, or the damage extends beyond a single joint, call someone who does this daily. A fall from a ridge can be serious. And a bad repair can lead to water damage that costs more than the repair itself.
A professional will also do a proper trace. Sometimes a leak that appears at the ridge is actually coming from a different point, running along a tile or a flashing, and only showing up at the ridge. I have traced leaks that started at a chimney, travelled under the tiles, and emerged at the ridge. That is the value of experience.
Preventing Future Cracks
There is no permanent cure for cracked ridge mortar. The roof will keep moving, and the mortar will eventually weaken. But you can extend the life of a repair with some simple steps.
- Inspect your ridge once a year, ideally in late summer before the rains start. Look for hairline cracks, loose tiles, or missing mortar.
- Keep trees trimmed back. Overhanging branches drop leaves and debris on the ridge, which holds moisture against the mortar.
- Ensure your gutters are clean. Blocked gutters cause water to overflow onto the ridge, accelerating wear.
- If you notice a small crack, do not ignore it. A simple dab of flexible roof sealant can stop water ingress until you schedule a proper repair.
I have seen well-maintained ridges last fifteen years between repairs. Neglected ones need attention every three or four years. The difference is just a bit of routine care.
Why Accurate Tracing Matters
One of the most important lessons I have learned is that the obvious leak point is not always the real one. A cracked ridge mortar repair might fix a visible crack, but the leak could be coming from a different location. That is why accurate tracing is essential. A good roofer will test the ridge by running water over it while someone watches the ceiling inside. If the leak appears only when water is applied to a specific spot, you have found the source. If it appears regardless of where you wet the ridge, the problem is elsewhere.
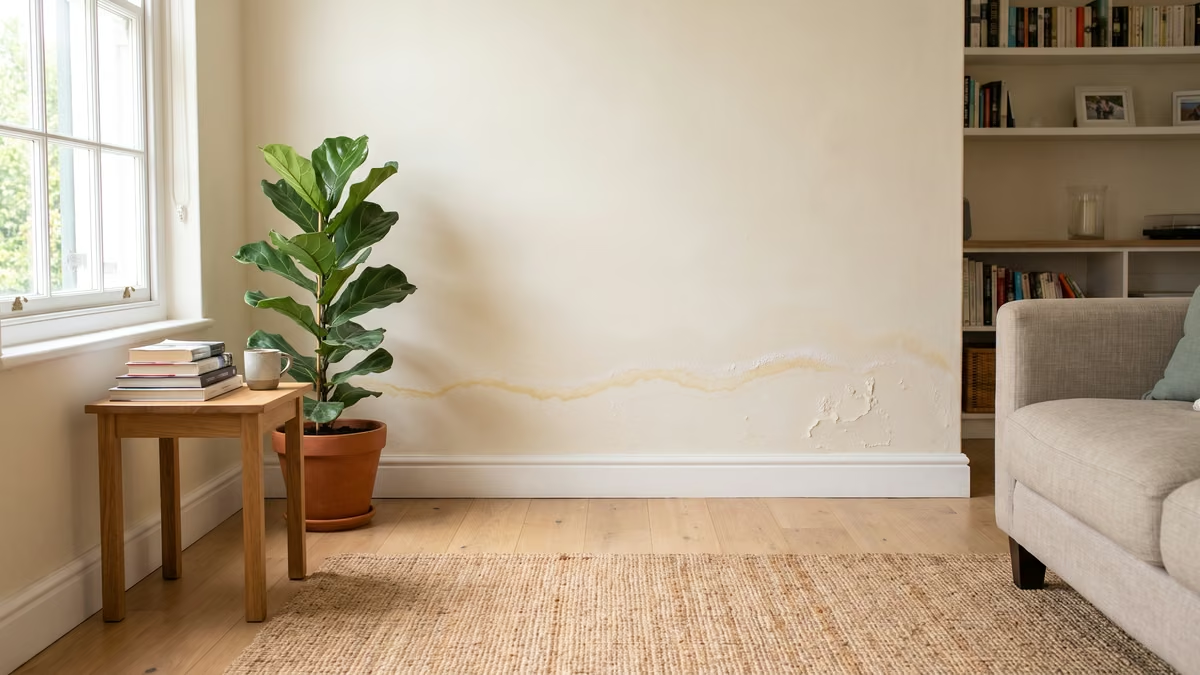
I have had jobs where the client insisted the ridge was the problem, but after a proper trace, we found the leak was from a corroded gutter joint. Fixing the ridge would have been a waste of time and money. That is why transparent pricing and honest diagnosis matter. You should know exactly what the issue is before any work begins.
Final Thoughts
A cracked ridge is not a disaster. It is a common, fixable problem that every homeowner in Cape Town will face at some point. The key is to catch it early and repair it properly. Whether you do it yourself or hire a professional, make sure the old mortar is removed, the right mix is used, and the joint is cured correctly. That is how you keep your roof watertight and your ceiling dry.
And if you are ever unsure, get a second opinion. A good roofer will explain what they found and why. That is the kind of service that saves you money and stress in the long run.